Drivve | Print 4: Express Installation - First Steps
Target of this document
This document describes the Drivve | Print Express installation and the initial configuration wizard of Drivve | Print.
Prerequisites
Before you start the Drivve | Print Express Installation, the following conditions have to be met:
- The system requirements are met.
- A Drivve | Print license certificate is required.
- The server on which Drivve | Print is installed must be member of an Active Directory domain.
- The devices (printer and MFPs) you want to control by Drivve | Print have to be shared and installed on the Drivve | Print Server.
Installing Drivve | Print
Proceed as follows:
- Unzip the Drivve | Print archive and run the file Express Bootstrapper.exe. Make sure to right-click and "Run-as Admin".
- Read the license agreement and tick the checkbox I agree to the license terms and conditions.
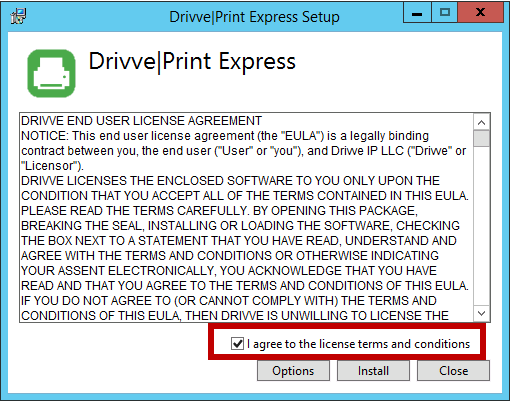
- Click Options.
- Configure the required settings:
- Default installation directory for Drivve | Print
- Default installation directory for the SQL Server
- Default maintenance password (recommended)
Note
The directory paths must not include a trailing backslash (\).
In addition, the directory paths must include a directory name. You cannot use the volume root directories (for example:
d:\)
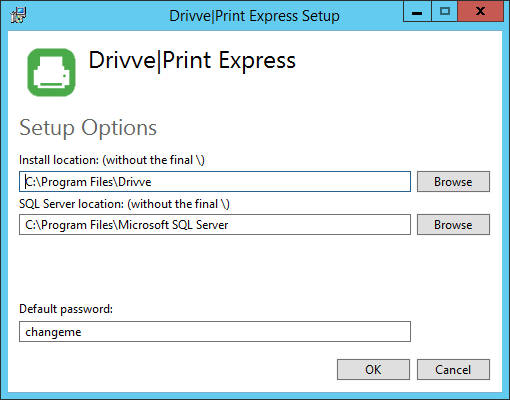
- Click OK.
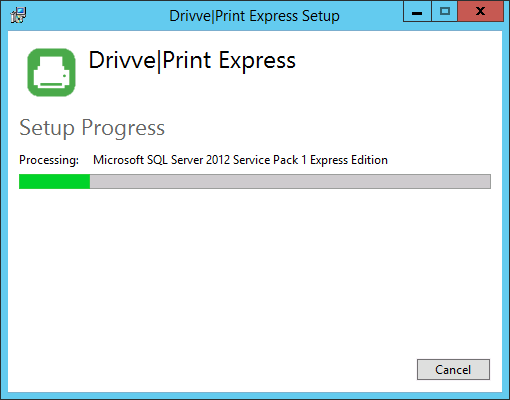
- Click Install.
The various required components are installed if they are not already available on the server.
The following components are installed:
- Visual C++ 2010, 2012, 2013
- .Net framework 4.5.2
- Sql Server 2012 Express Edition SP1
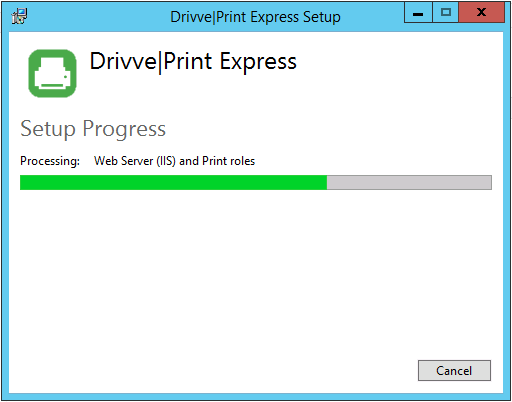
The following roles are installed:
- Application server (IIS)
- Print server
The setup dialog displays the current component being installed.
Depending on the installed components, some steps may require the server to reboot. The install will resume automatically after login. The setup dialog indicates the completion of the installation.
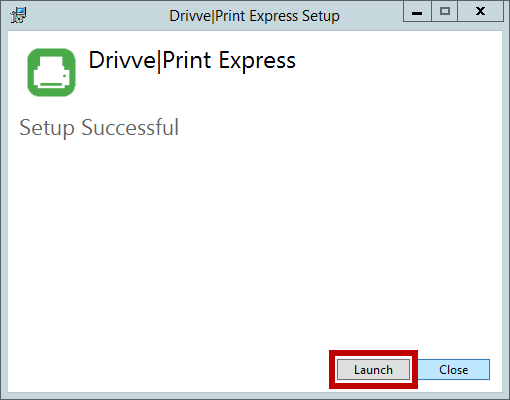
- Click Launch to start the Drivve | Print configuration website.
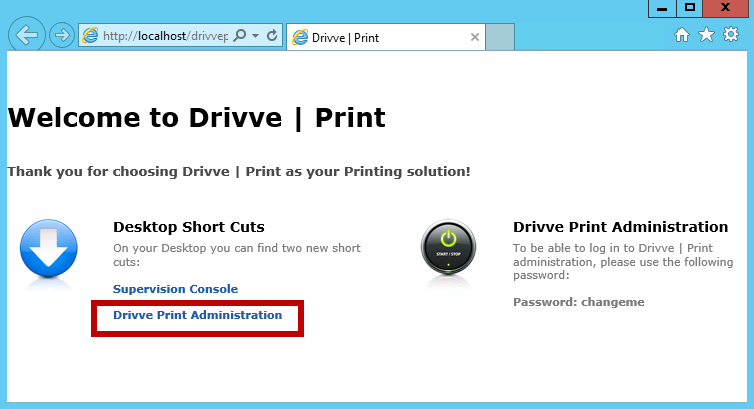
- Click Drivve Print Adminstration.
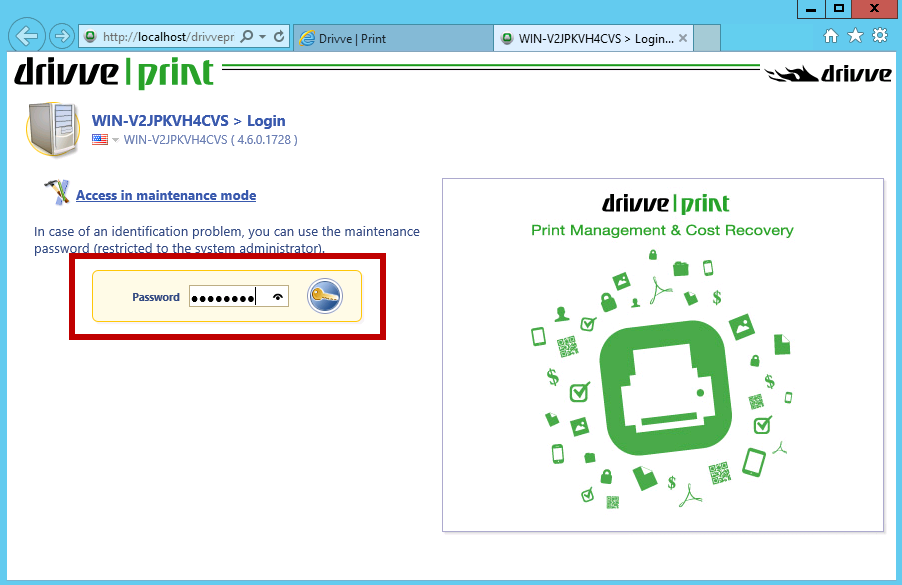
The login page of the Drivve | Print administration website is displayed.
- Enter the password and click the key symbol.
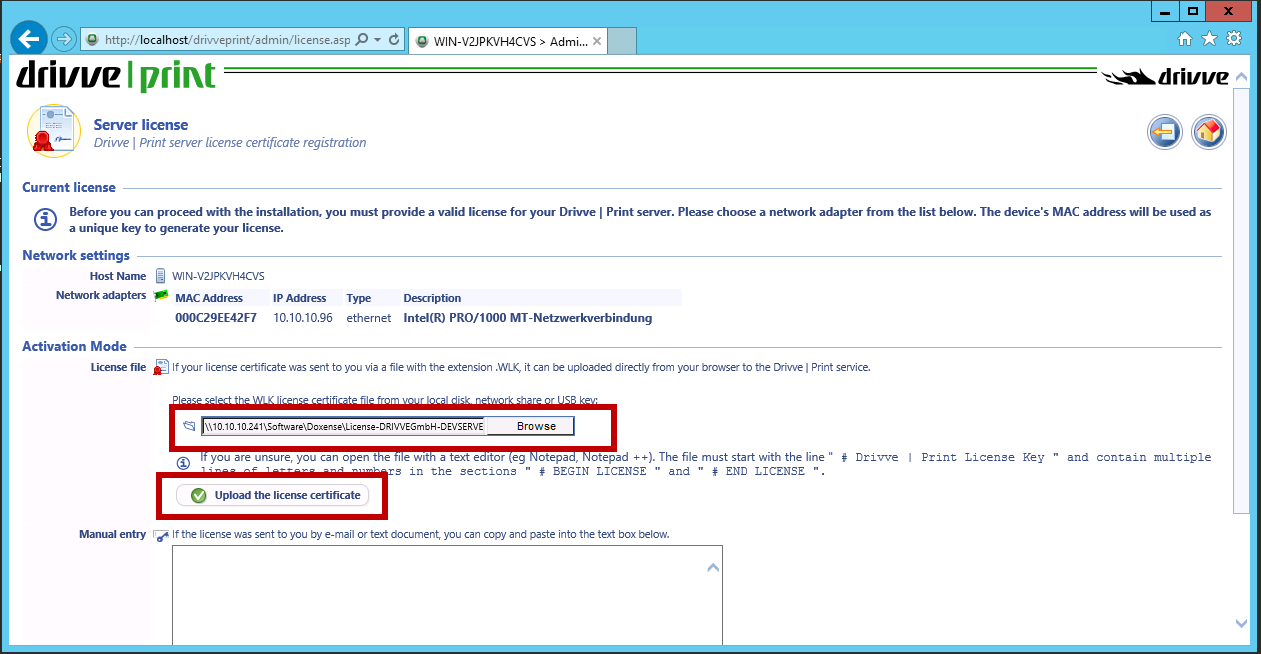
Now, you have to activate the Drivve | Print license.
- Click the Browse button, select the file of the license certificate you have received and click OK. Then click the button Upload the licence certificate.
The Drivve | Print Express configuration wizard is launched automatically to set up the few parameters that are required to start the service.
- Click Next.
On the next page, you do not need to change anything.
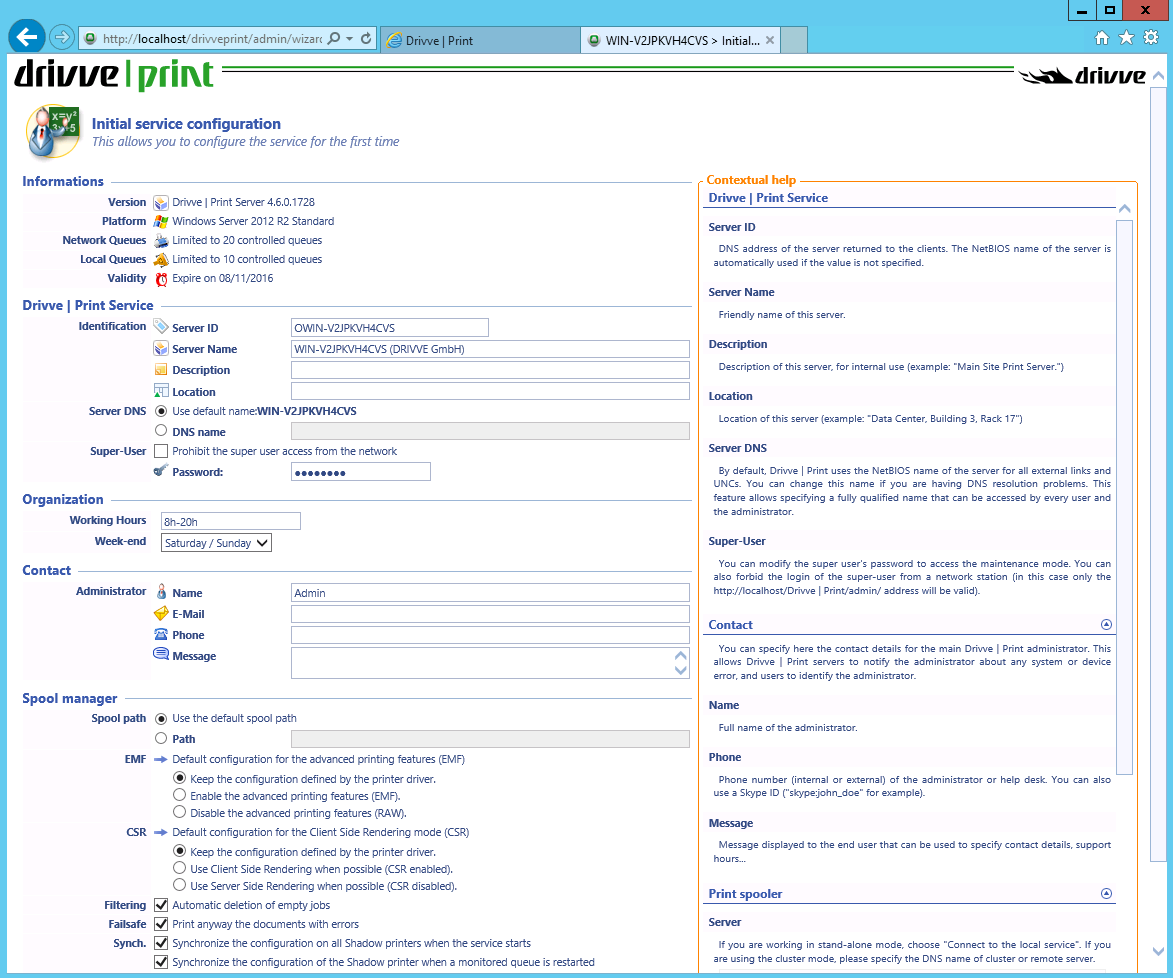
- Click Next.
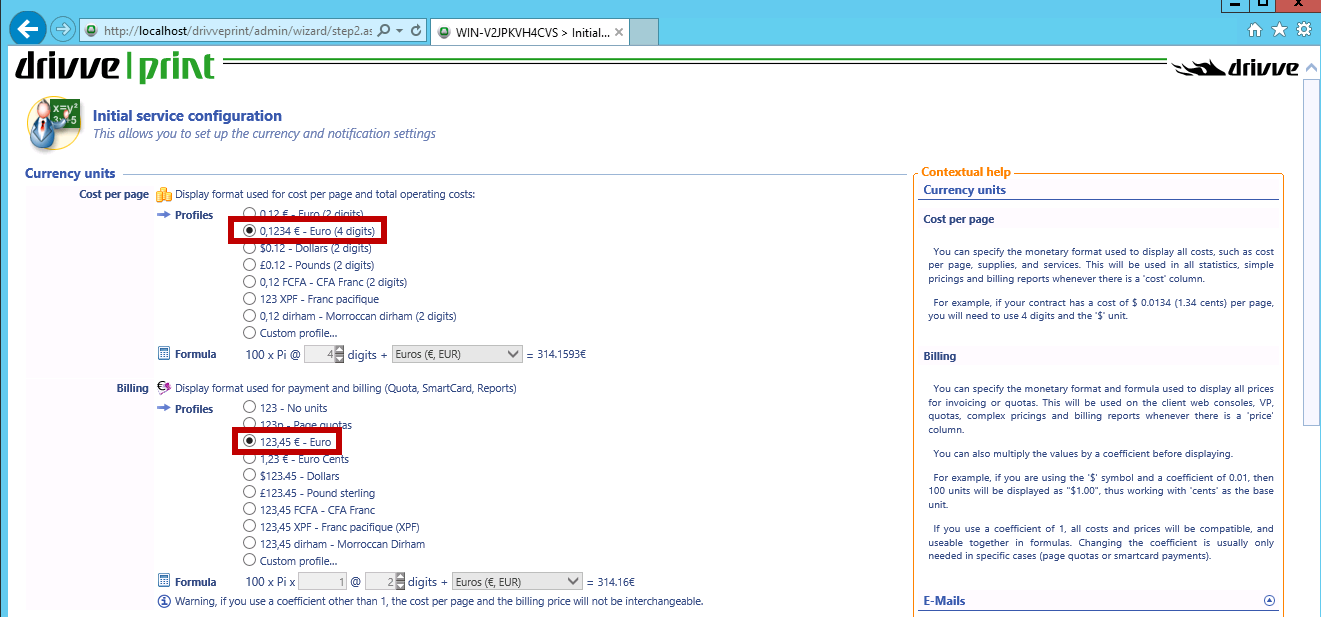
- In the sections Cost per page and Billing, select the required currency format.
- Configure the email notifications for administrators and users:
- Tick the checkbox Allow e-mail notifications for administrators and users.
- In the Hostname field, enter the name of the SMTP server.
- Enable the checkbox Connect to SMTP server using TLS/SSL.
- In the Port field, enter the SSL port.
- If identification for the SMTP Server is required, tick the checkbox Identification is required by the SMTP server and enter the login credentials.

- If you plan to implement printing rules, configure Windows popup notification:
- Tick the checkbox Allow sending popup notifications...
- In the field Proxy Server, enter the IP address of the proxy server used.

- Click Next.
The page for the database configuration is displayed.
- Check the databases for statistics and quotas: In the sections Statistics and Quotas, click the button Check the database.
Note
The express installer automatically installs SQL Express and creates the databases for you.
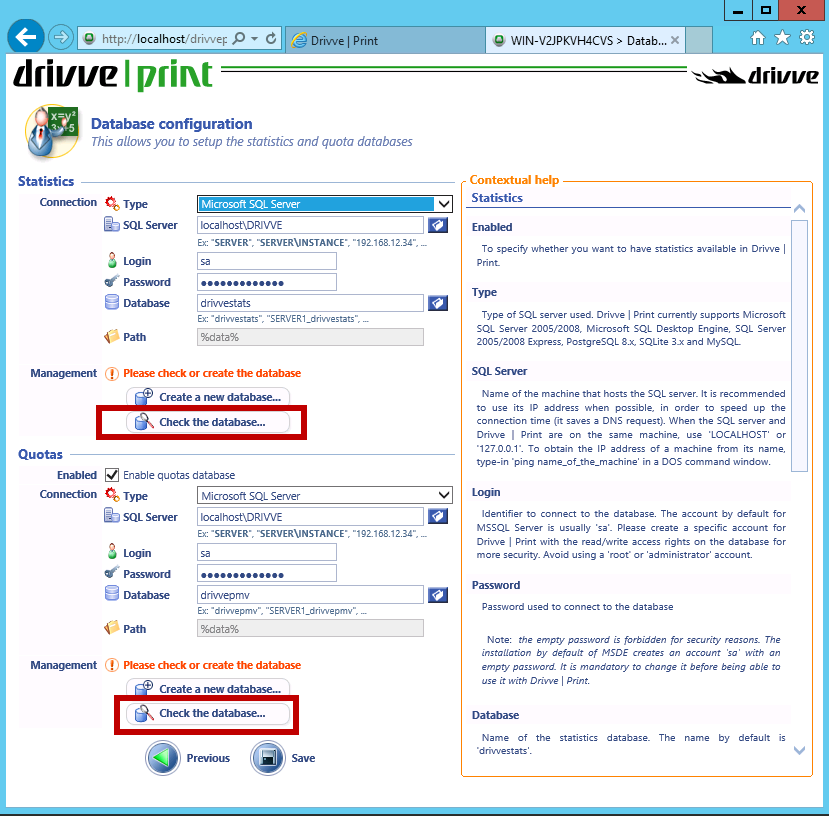
If the check is successful, a corresponding message is displayed.
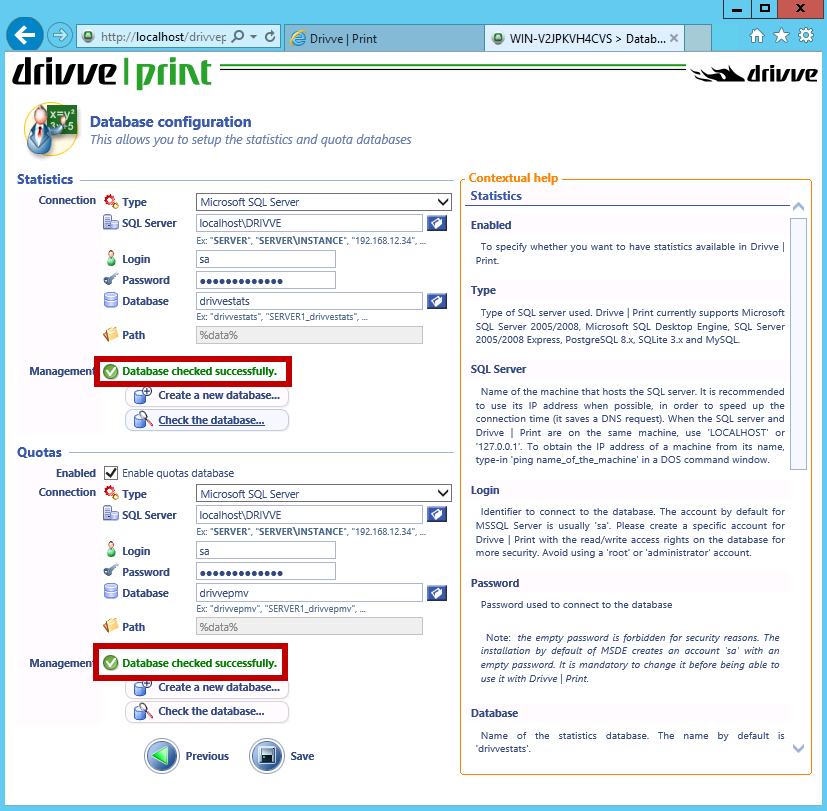
- Click Save.
The page for the user directory declaration is displayed. On this page, you do do not need to change anything if your server is tied to the domain. You can optionally specify a server and a user to connect as, but generally this is not needed.
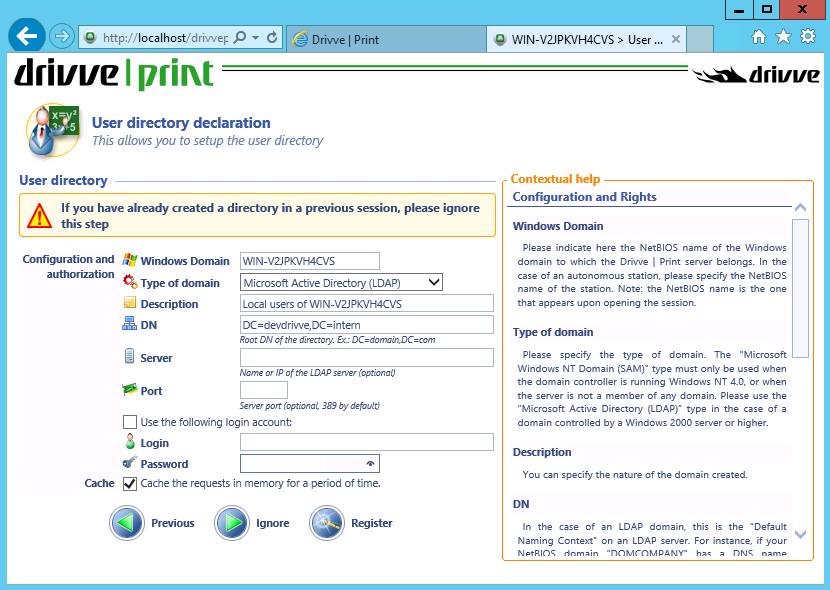
- Click Register.
The page of the default settings for all queues is displayed. On this page, you do not need to change anything.
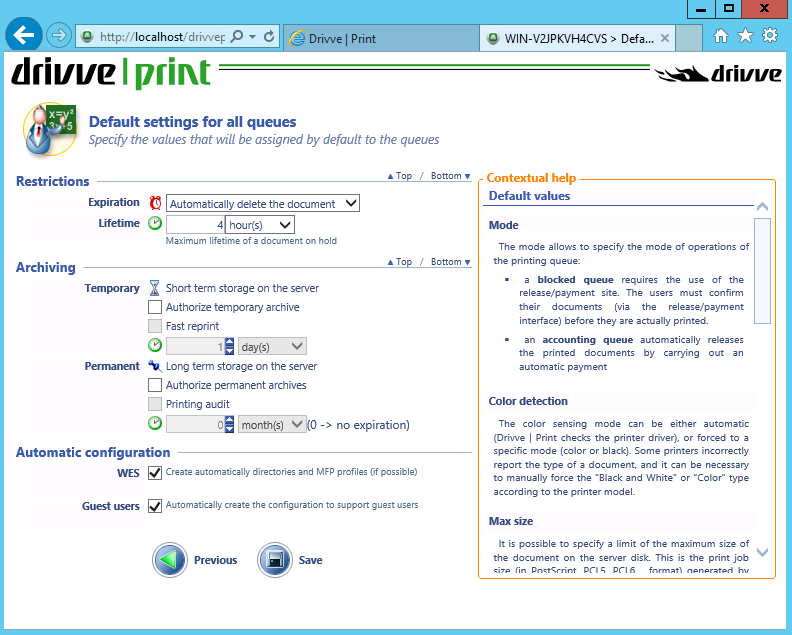
- Click Save.
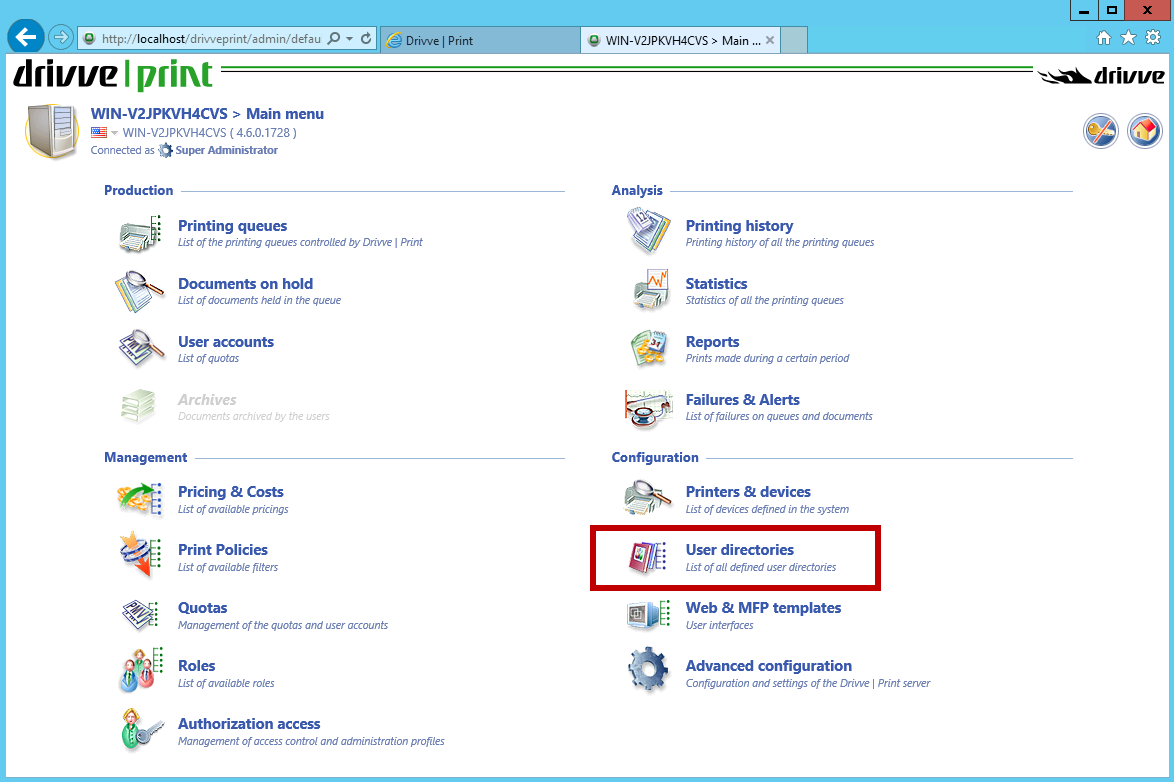
The menu Printers & devices is displayed. Before bringing in your devices to Drivve | Print, you should verify whether your LDAP directory is working correctly.
- Go to the menu User directories.
- Enter an LDAP user and click Lookup.
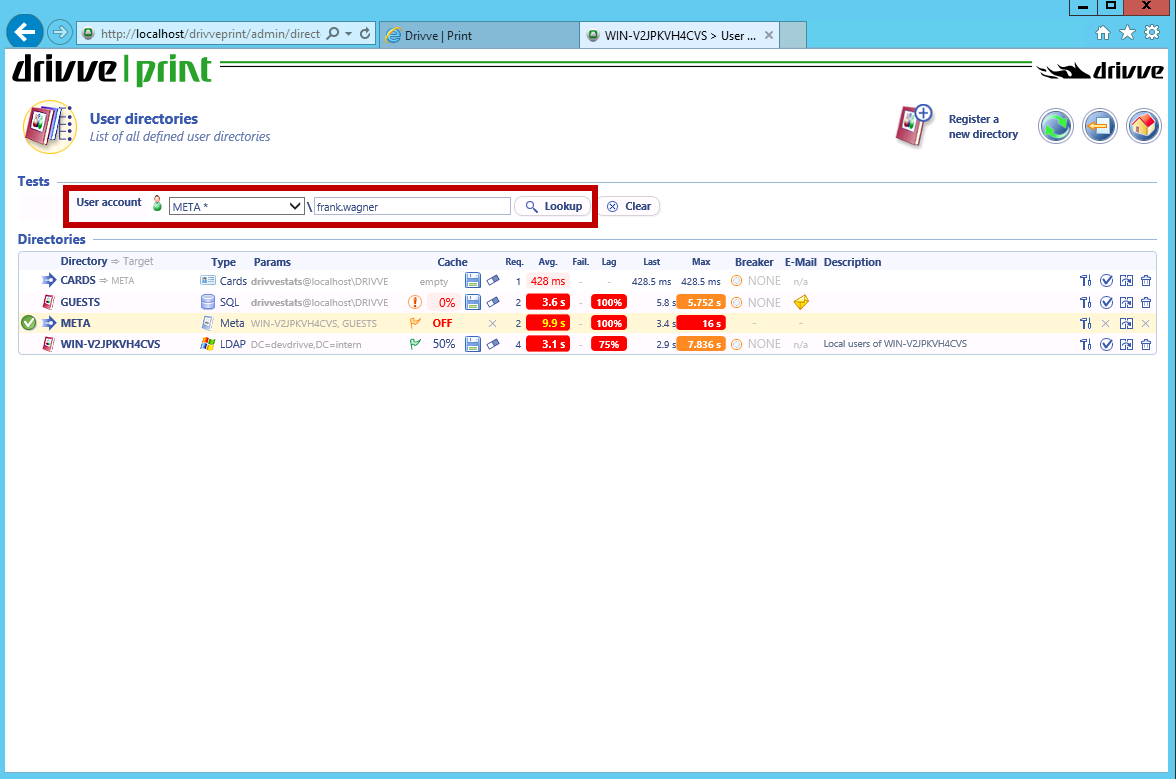
If the user is found, your LDAP directory works correctly.
Note: Paused Printer notifications
Before bringing in your devices into Drivve | Print, you should disable the "Paused Printer"notifications. For more information on this topic, go to the section below
By default, starting at Windows Vista, you are notified when you print a document to a paused network queue:
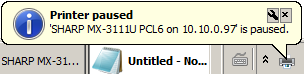
Drivve uses two print queues, the live one that is shared to the user desktops and the shadow queue. The live queue is paused so that Drivve can intercept the print stream and apply quotas, create previews of the document, apply rules, and analyze the data for reporting metrics. The job is then immediately moved to the shadow queue and released.
Even though the jobs are still printed out as usual, the users may become confused at the "printer paused" error. It is a good idea to disable these notifications before implementation using one of the following methods:
- Disabling Print Notifications Using the Registry Key Method
- Disabling Print Notifications Using the Manual Method
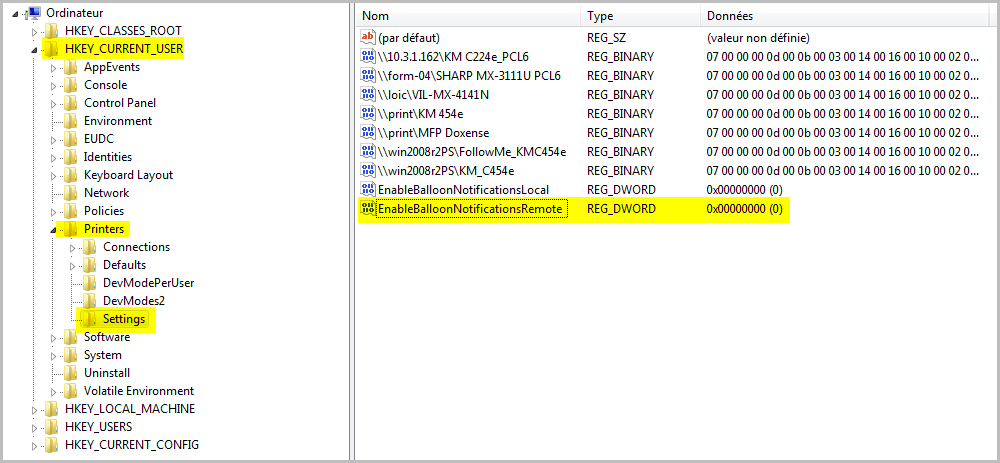
Disabling Print Notifications Using the Registry Key Method
One simple option is to create a .reg file with the following text and run it either via a login script or attach it to a GPO policy:
Windows Registry Editor Version 5.00
[HKEY_CURRENT_USER\Printers\Settings]
"EnableBalloonNotificationsRemote"=dword:00000000
Using a GPO, you can simplify the creation of the registry key on each workstion. For more information on how to do this, refer to the following website:
https://technet.microsoft.com/en-us/library/Cc753092.aspx
Caution
Make sure to reboot the respective workstation to so that the GPO takes effect. If you use the /force trigger, you do not have to reboot the workstation.
Disabling Print Notifications Using the Manual Method
It is also possible to disable this notification manually.
Proceed as follows:
- On the workstation, go to Start > Devices and Printers.
- Click on a remote printer.
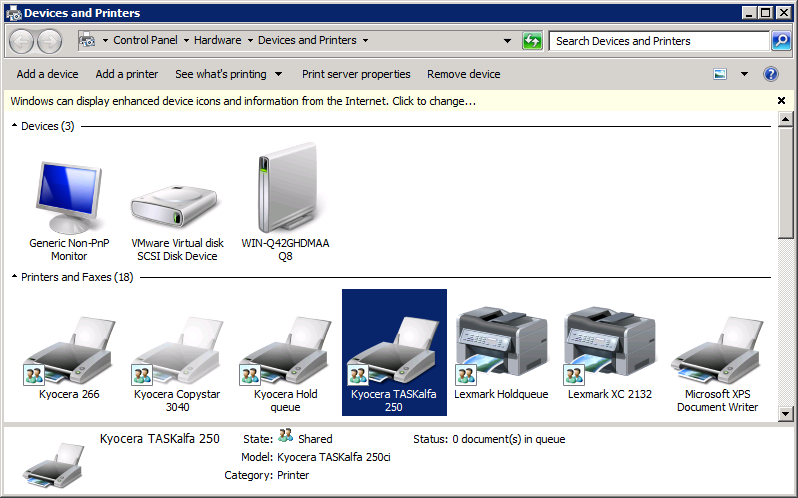
- Click Print server properties.
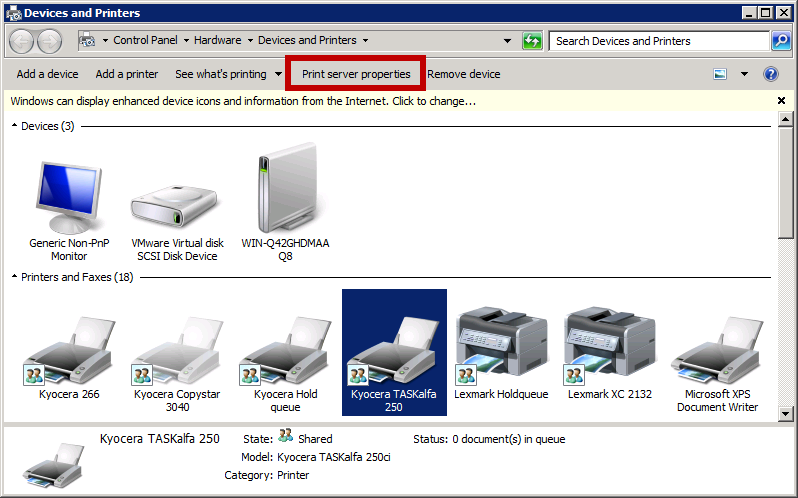
- In the Advanced tab, clear the checkbox Show informational notifications for network printers.
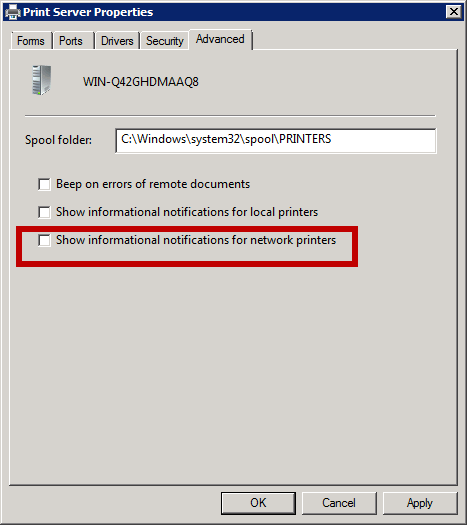
- Click OK to confirm.
The change immediately takes effect. The print notifications will not displayed anymore.