Drivve | Print 4: How Do I Configure Notifications with Windows Messages?
To activate Drivve | Print notifications with Windows messages (msg.exe), follow the 3 steps described in this document.
Step 1 - User Workstations
First, user workstations do not accept Remote Procedure Calls (RPC) by default. This is needed in order to properly receive Windows Messages. Enabling it is usually done through a GPO, setting the value 1 for the following registry key:
HKEY_LOCAL_MACHINE\SYSTEM\CurrentControlSet\Control\TerminalServer
Proceed as follows:
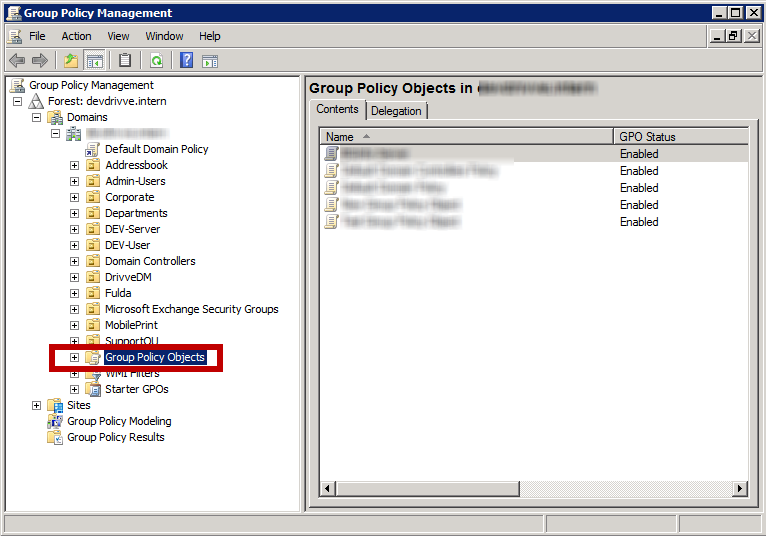
- Go to the domain controller.
- Go to Start > Administrative Tools > Group Policy Object.
- In the navigation area on the left-hand side, click the required domain and navigate to Group Policy Object.
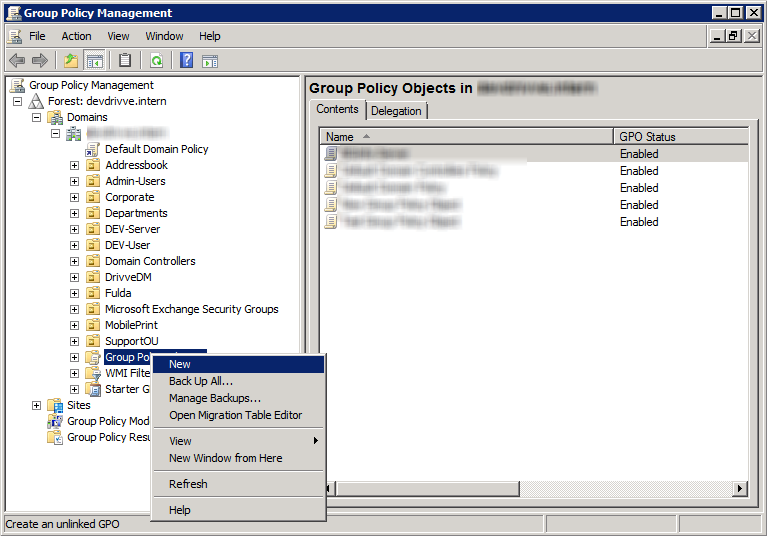
- Right-click Group Policy Object and click New.
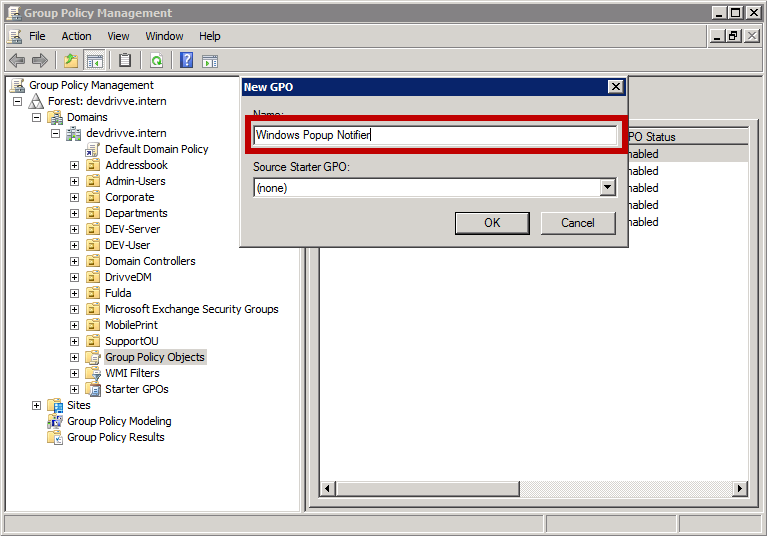
- Enter a name and click OK.
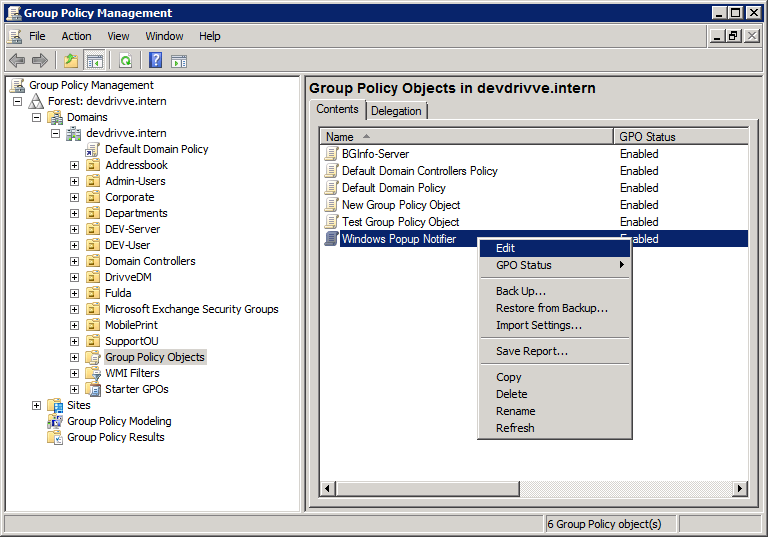
- Right-click the new Group Policy Object and click Edit.
- In the navigation area on the left-hand side, select Computer Configuration > Preferences > Windows Settings > Registry.
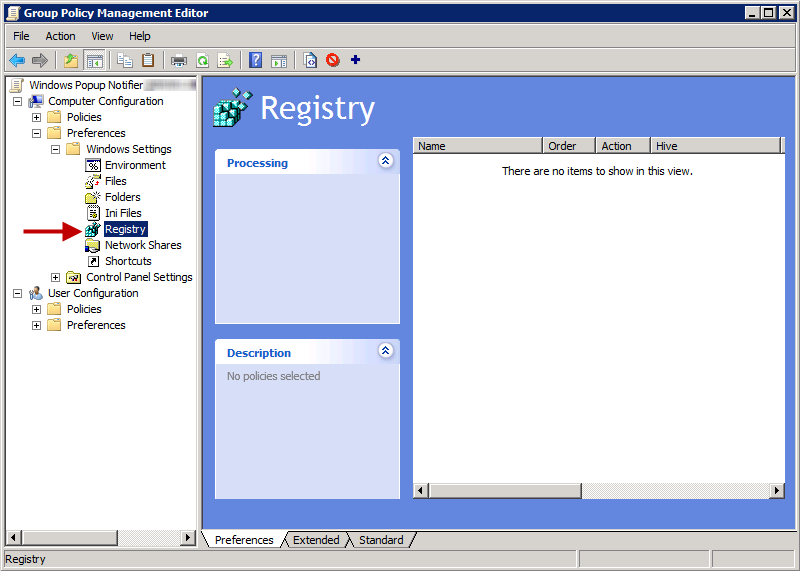
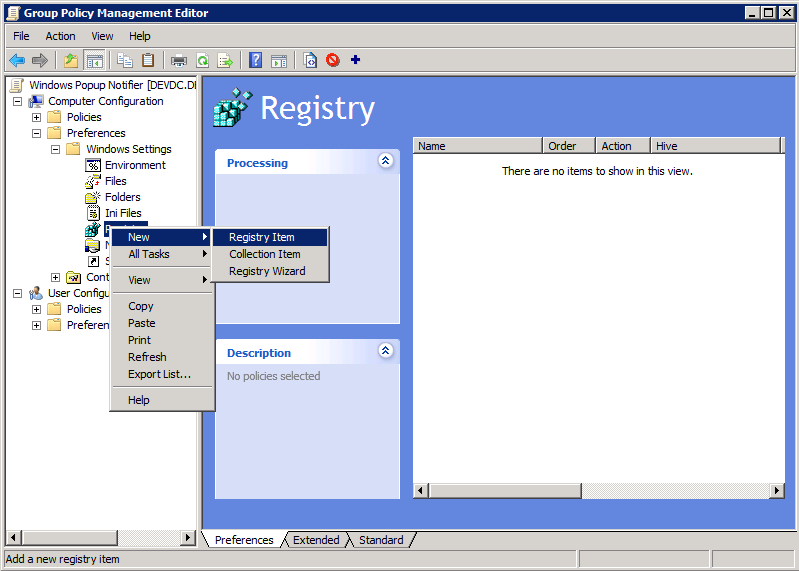
- Right-click Registry and select New > Registry Item.
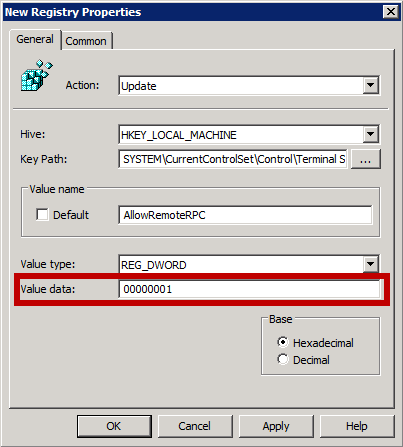
- In the drop-down list Hive, select HKEY_LOCAL_Machine.
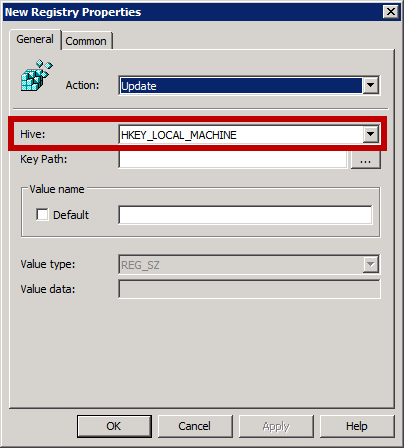
- Click the button with the three points to the right of the field Key Path and select HKEY LOCAL MACHINE > SYSTEM > CurrentControlSet > Control\Terminal Server.
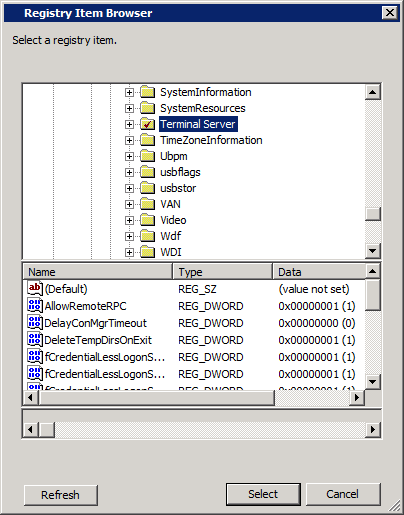
- Click Terminal Server, click AllowRemoteRPC in the lower area of the dialog and click the Select button.
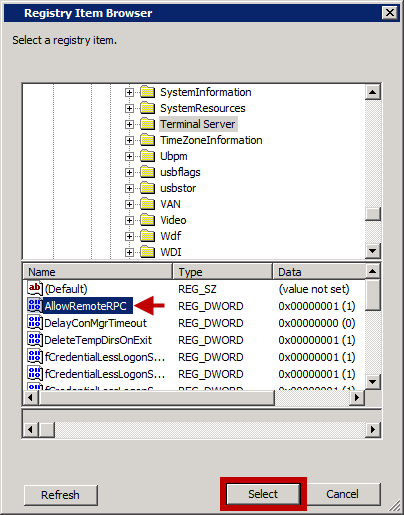
- In the field Value data, enter the value 1 and click OK.
Step 2 - Drivve | Print Notification Server
Messages must be sent with a user profile having administrator rights on the user workstations. For security reasons, the Drivve | Print notification feature has been deported to a secondary service called DrivvePrint Notifaction Server which is disabled by default. You have to configure this service to start automatically, with a user profile having the previously mentioned rights.
Proceed as follows:
- Open the Windows services overview.
- Select service DrivvePrint Notifaction Server.
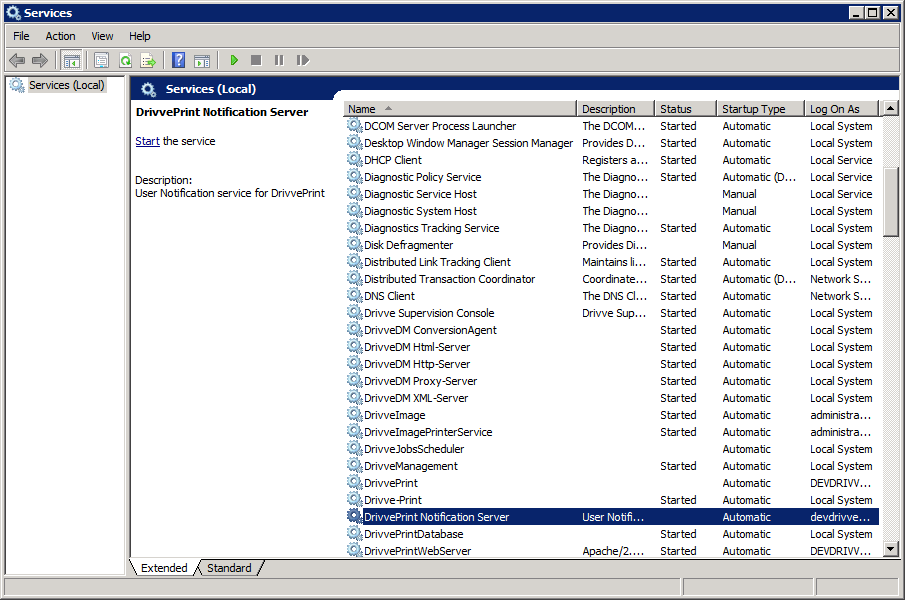
- Right-click and select Properties.
- On the General tab, change the Startup type from Disabled to Automatic.

- On the tab Log On, select This Account and specify a user profile with the domain name having administrator rights on the user workstations.
- Click OK.
Step 3 - Configure Popup Notifications
Finally, you have to configure the sending of pop notifications in the Drivve | Print administration website.
Proceed as follows:
- Log on to the Drivve | Print administration website.
- Select the menu Advanced Configuration, then go to the Notification menu item.
- Click Notification Configuration (upper right).

- In the Windows Popup Notifier section, tick the Notifications checkbox.
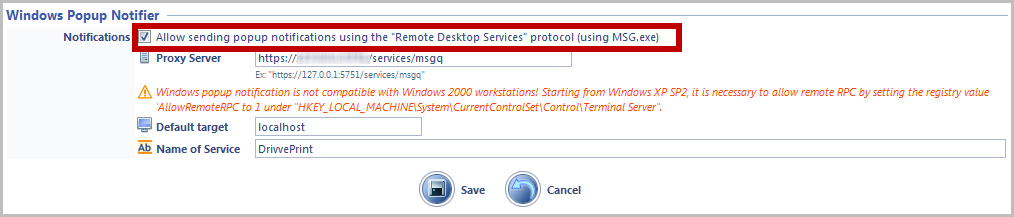
- Configure the Proxy Server field.
- Click the Save button.
After a few seconds, a message is displayed indicating that popup notification is properly conformed.
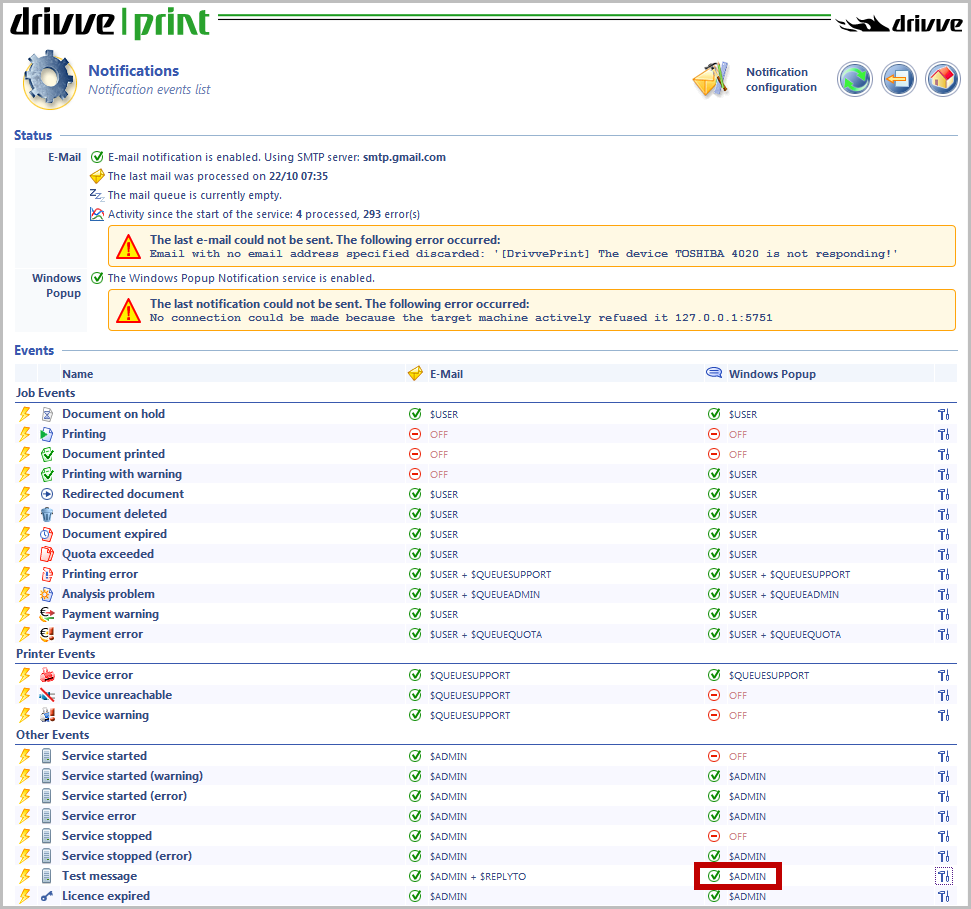
- If you do not receive this message, go back to the Notifications menu and verify that the Test message Windows notification is correctly enabled ($ADMIN by default).
Validation and Troubleshooting
The notification service writes records of its activity in a file named DrivvePrintNotificationServer.log. This file is located in the logs subfolder of Drivve | Print. The default path is
C:\Program Files\Drivve\DrivvePrint\logs
Proceed as follows:
- Go to C:\Program Files\Drivve\DrivvePrint\logs.
- Open the file DrivvePrintNotificationServer.log in a text editor (for example notepad).
- Look for a line similar to the following:
"InvokeProcessAsync('C:\Windows\System32\msg.exe', '* /SERVER:localhost /TIME:0 /v "The popup notification is properly configured on WIN2008R2US"', ...)"
You can find the command that was executed with the corresponding parameters between single quotes. This allows you to troubleshoot potential notifications issues.